The Used Car Transmission Stress Test: 5 Things to Do During a Test Drive
Buying a used car is one of the most significant financial decisions most people make on a regular basis. Unlike a new vehicle purchase where the manufacturer's warranty provides a meaningful safety net, a used car transaction places the entire burden of due diligence on the buyer. A vehicle can look immaculate, have a clean history report, and pass a casual inspection while hiding a transmission problem that will cost thousands of dollars to repair within weeks of purchase.
The transmission is the single most expensive drivetrain component to replace and it is also one of the most commonly disguised problems in the used car market. Some sellers are completely unaware that a problem exists. Others are acutely aware and are hoping the car holds together long enough to complete the sale. Either way the responsibility for catching these issues falls entirely on you during the test drive.
The following five checks are designed to help any used car buyer regardless of mechanical experience identify the warning signs of a transmission in distress before a single dollar changes hands.
1. The Cold Start Shift Test
This is the most important test on this list and it requires one specific condition that many buyers overlook. You need to drive the vehicle before the engine and transmission have warmed up. This means arriving early for your test drive appointment and ensuring the car has been sitting overnight or for at least several hours before you get behind the wheel.
Why Cold Matters
A transmission that is struggling internally will often reveal its problems most clearly when the fluid is cold and has not yet reached its normal operating viscosity. Worn clutch packs, failing solenoids, and degraded valve body components that can temporarily compensate once the fluid warms up and pressure stabilizes will expose themselves during those critical first few minutes of operation.
What to Feel For
Pull out of the driveway or parking lot slowly and pay close attention to the shift from first to second gear. It should be smooth and nearly imperceptible. A clunk, a hesitation, or a brief slip where the engine revs without a corresponding increase in vehicle speed are all serious red flags. Note whether the transmission engages drive immediately when you select the gear or whether there is a delay of more than one second before the car begins to move. Delayed engagement is one of the clearest signs of internal wear or low fluid pressure.
2. The Highway Acceleration Ramp
Once the vehicle has warmed up find an on-ramp or an open stretch of road where you can perform a firm, progressive acceleration from approximately 30 miles per hour to highway speed. You are not looking to abuse the vehicle. You are looking to put the transmission under a meaningful load across its full shift range.
What a Healthy Transmission Feels Like
A transmission in good condition will move through its gears smoothly and with consistent forward momentum. Each upshift should feel like a brief, clean transition. The engine RPM should drop slightly with each shift as the transmission moves into a higher gear ratio.
Warning Signs Under Load
Pay close attention to any point during acceleration where the engine RPM rises noticeably without a corresponding increase in vehicle speed. This is called slipping and it indicates that a clutch pack is not fully engaging. Even a brief moment of slip during hard acceleration suggests significant internal wear.
Also listen for any unusual sounds during this test. A whine that changes pitch with vehicle speed can indicate bearing wear. A clunk or shudder during an upshift under load suggests clutch pack or band problems that will only get worse over time.
3. The Deceleration and Downshift Check
Most buyers focus entirely on how a transmission behaves during acceleration and completely ignore what happens during deceleration. This is a significant oversight because the downshift behavior of a transmission reveals a completely different set of potential problems.
How to Perform This Test
After reaching highway speed lift your foot completely off the accelerator and allow the vehicle to coast down naturally. Pay attention to how the transmission responds as vehicle speed decreases. Then perform a moderate braking event from about 50 miles per hour down to about 15 miles per hour and feel what happens to the transmission as you come to a stop.
What You Are Looking For
Modern automatic transmissions should downshift smoothly and progressively as the vehicle slows. If you feel a jolt or a clunk as the transmission drops into a lower gear during deceleration this indicates that the downshift calibration is off or that internal components are worn. A transmission that seems to hunt for the correct gear during deceleration, shifting up and down repeatedly without settling, suggests solenoid or software issues that are often symptoms of deeper problems.
Pay particular attention to the moment just before the vehicle comes to a complete stop. There should be a clean transition into first gear or park. Any shudder or lurch at low speed during final deceleration is a meaningful warning sign.
4. The Parking Lot Slow Speed Maneuver Test
This test is specifically designed to reveal torque converter problems, low-speed clutch wear, and the delayed engagement issues that are most common in high-mileage automatic transmissions. It requires nothing more than an empty parking lot and about three minutes of your time.
The Test Sequence
Find an open area and perform the following sequence at walking speed. Drive forward about 20 feet and come to a complete stop. Shift to reverse, back up about 20 feet, and come to a complete stop. Shift back to drive and repeat this sequence four or five times in succession. Then perform a tight turning circle in both directions at very low speed.
Why This Reveals So Much
The repeated direction changes and low-speed clutch engagements in this test put a very specific type of stress on the transmission that normal driving rarely replicates in such a concentrated way. Worn clutch packs will often slip or shudder during these slow-speed engagement events even if they hold together adequately at highway speeds.
Listen for any clunking when shifting between drive and reverse. Feel for any hesitation or slip when the transmission re-engages after each direction change. A healthy transmission will respond immediately and smoothly to each gear selection. Any roughness, delay, or noise during this sequence deserves serious attention before you proceed with the purchase.
5. The Temperature and Warning Light Check
The final check on this list is the simplest but it is one that a surprising number of buyers completely ignore. Before you return the vehicle to the seller take a moment to review the instrument cluster carefully while the engine is fully warmed up.
What to Look For on the Dashboard
The most important indicator to check is the transmission temperature gauge if the vehicle has one. On vehicles without a dedicated transmission temperature display you can often access this data through the onboard computer menu. A transmission that is running at normal operating temperature after a moderate test drive is a positive sign. A transmission that is already showing elevated temperature after a relatively short drive suggests cooling system problems or internal friction from worn components.
Check carefully for any warning lights that may be illuminated. Some sellers will clear stored trouble codes before a sale to prevent a check engine light from appearing during the test drive. However a code that is actively present will typically return within one or two drive cycles. If the check engine light comes on at any point during your test drive insist on a scan tool reading before proceeding.
The Fluid Check You Should Always Perform
Before returning the keys ask if you can check the transmission fluid. Many vehicles have a transmission dipstick and this thirty second check provides valuable information. Healthy transmission fluid should be a translucent pink or red color with no burnt smell. Dark brown or black fluid with a burnt odor indicates that the transmission has been running hot and the fluid has broken down. The presence of any metallic particles or a gritty texture on the dipstick indicates internal wear that has already been occurring for some time.
The One Step That Completes Everything
Even if the vehicle passes all five of these checks with flying colors we strongly recommend having any used car inspected by a qualified transmission specialist before finalizing the purchase. A thorough specialist inspection that includes a live data scan and a fluid analysis can confirm what your test drive suggested and catch anything that did not reveal itself during normal driving.
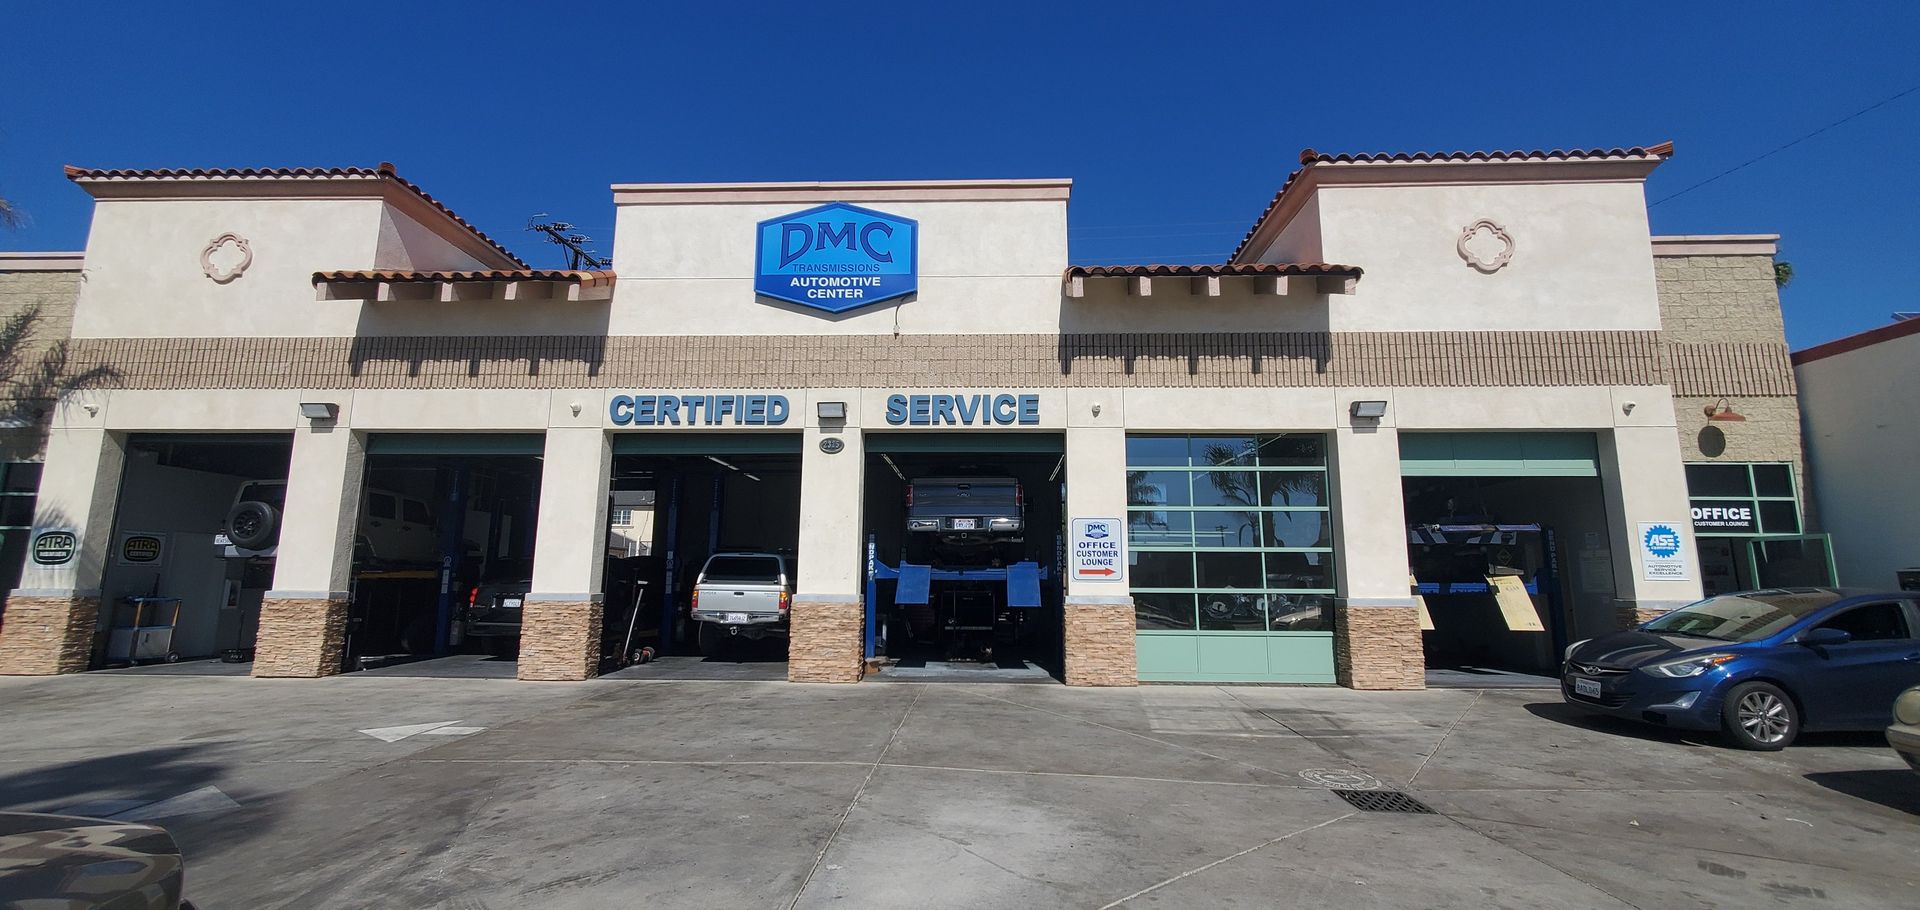
The cost of a pre-purchase inspection is minimal compared to the cost of discovering a major transmission problem after the sale is complete. In Ventura we offer pre-purchase transmission inspections that give used car buyers the confidence to make an informed decision. Whether you want to confirm that a vehicle is sound or get a clear picture of what repairs might be needed we are here to help you avoid one of the most expensive mistakes in the used car market.
Contact Us
Address:
2325 E Thompson Blvd, Ventura, CA 93003
Phone Number:
(805) 652-2221
Hours: Monday-Friday: 8 AM - 5 PM